OBS overlay setup step by step: scene structure, source order, camera cropping, alpha WebM
How to set up an overlay pack from a designer in OBS: scene architecture (Starting Soon / Main / Break / Ended), source ordering, cropping the camera into its frame, WebM settings for animated overlays, browser sources, performance and common mistakes.
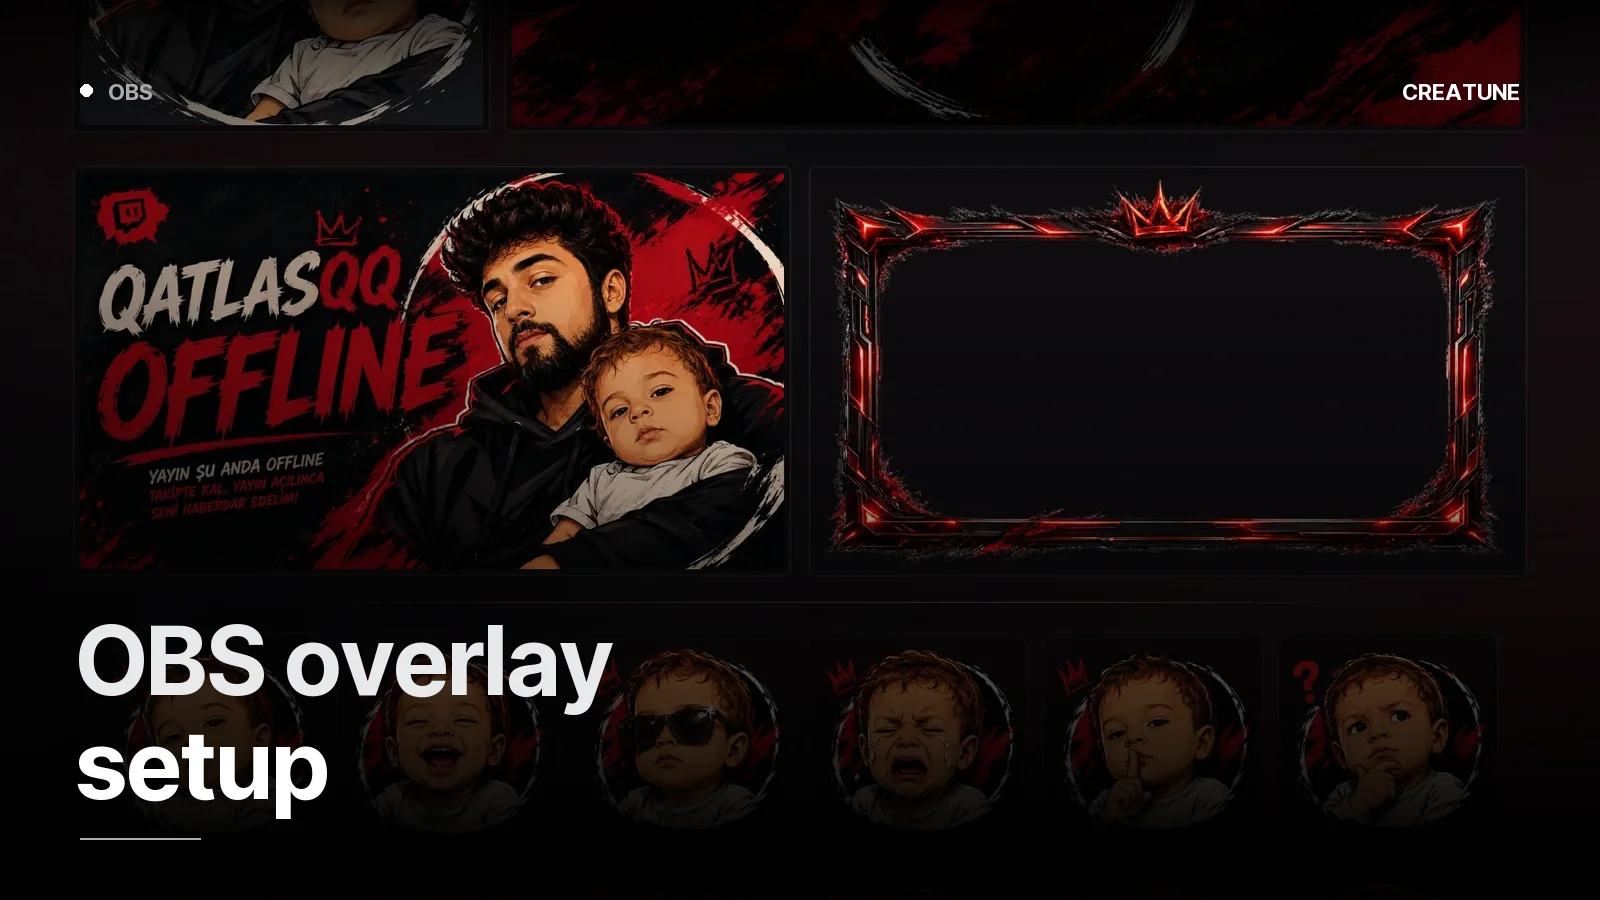
The overlay pack arrived: a folder with PNGs, WebMs and a setup note. This post turns that folder into a working OBS setup in 20 minutes. In Deluxe and Ultimate we do this for you; if you want to do it yourself, this is the order.
1. Scene architecture
Four scenes cover every stream:
| Scene | Contents |
|---|---|
| Starting Soon | animated screen (Media Source, loop) + music + chat |
| Main | game/display capture → camera → overlay → chat/alert browsers |
| Break | animated break screen + music + chat |
| Ended | animated ending screen + raid message |
Between scenes: Stinger (setup).
2. Source order in the main scene (top to bottom)
- Alert browser source (StreamElements/Streamlabs link)
- Chat browser source
- Overlay (PNG or WebM)
- Camera
- Game capture / Display capture
The overlay must sit above the camera so the frame surrounds it; alerts and chat above the overlay so they look embedded in the frame.
3. Adding the overlay
- Static: Add Source → Image →
overlay.png(1920×1080). Right-click → Transform → Fit to screen (Ctrl+F). - Animated: Add Source → Media Source →
overlay.webm→ Loop ticked → "Close file when inactive" off (otherwise it restarts on every scene switch — harmless, but feels like a stutter).
4. The camera frame
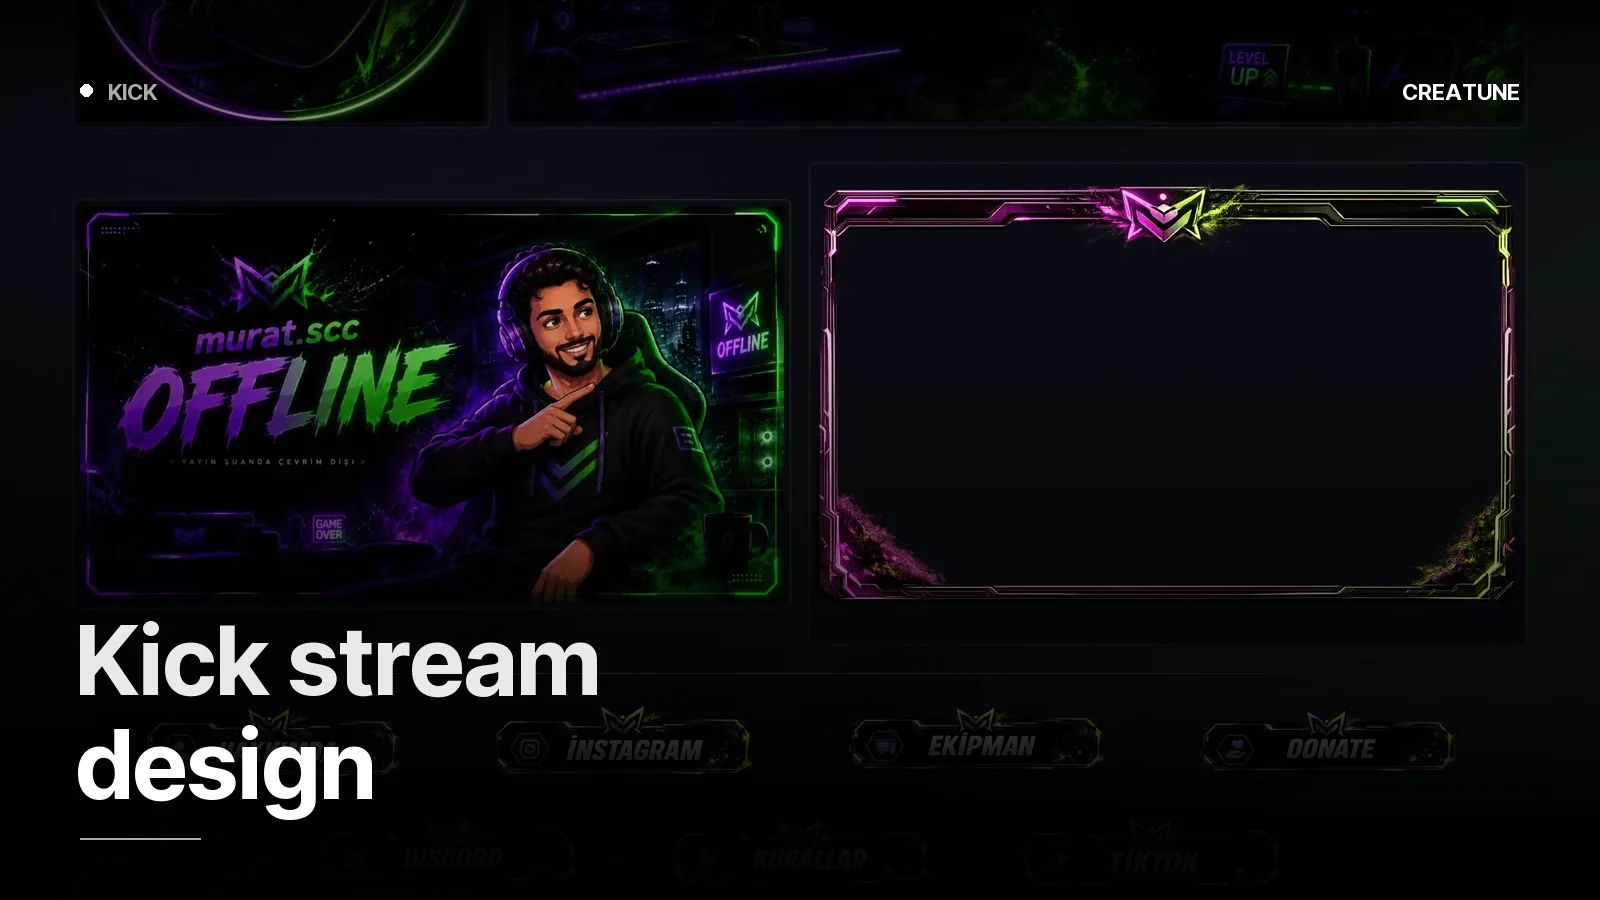
The delivery note lists the frame's pixel coordinates (e.g. x 1400, y 760, 480×270).
- Select the camera source, hold Alt and drag the edges → crop.
- Or right-click → Filters → Crop/Pad → left/top/right/bottom pixel values.
- Then Transform → Edit Transform (Ctrl+E) → enter position and size from the note.
- We deliver two frames for 16:9 and 4:3 cameras; use the one matching your camera.
5. Chat and alerts (browser sources)
Add Source → Browser → StreamElements/Streamlabs/Kick chat link → width/height matching the chat area in the overlay. Paste the delivered font/colour CSS into Custom CSS; chat then matches the overlay. Alert setup: alert guide.
6. Performance
- Output: 1920×1080, 60 fps (animated screens are produced at 60), NVENC/AMF/QuickSync hardware encoding.
- One large WebM is cheaper than several small ones.
- "Shutdown source when not visible" on for browser sources — the chat in Starting Soon does not eat CPU in the main scene.
- Disable the preview while live (right-click → Disable Preview) — 5–10% on small systems.
Common mistakes
- Overlay below the camera → the frame is invisible.
- Dropping the PNG onto a 1280×720 canvas → blurry; keep the canvas at 1920×1080 and set the output scale separately.
- Loop off on an animated overlay → freezes after 10 seconds.
- No CSS in the chat browser source → a white box.
If you would rather we set it up, it is included in Deluxe and Ultimate; questions on WhatsApp.
Frequently asked
1.How do I add an overlay in OBS?
In the main scene, Add Source → Image → pick the overlay PNG (1920×1080). In the source list move the overlay above the camera and the game; chat and alert browser sources at the very top. For an animated overlay use Media Source (WebM, loop on) instead of Image.
2.How do I fit the camera into the overlay frame?
Hold Alt and drag the camera source's edges (crop), then place it inside the frame. Or right-click → Filters → Crop/Pad and enter pixel values. We include the frame's pixel coordinates in the delivery.
3.Does an animated overlay slow down OBS?
A single 1080p60 alpha WebM source is fine on most systems; if there are several animated layers, merging them into one WebM is more efficient. With hardware encoding (NVENC) on, the impact is negligible.
4.Is Streamlabs Desktop different?
No, same logic: Add Source → Image / Media / Browser. Streamlabs' own overlay installer wants an .overlay package; because we deliver plain files, sources are added one by one, which gives more control.